


Relieve Headaches and Tension With Aculief Clip
01:03

Kailo Pain Relief Put to the Test! User Reviews
03:49

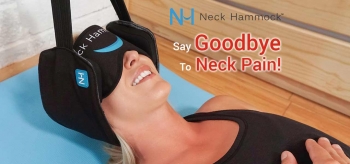
Here's an Anti Snore Wristband: Our Sleep Connection Review
00:45

Does smartDOT Work? User Review
02:44

VIZR by FIXD Does It Work (2019)
01:20

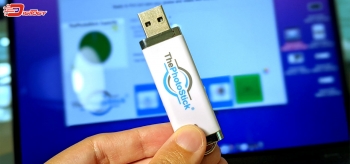
Xtra-PC reviews, xtra pc test, Discover how to speeds up your old computer! (2019)
01:48